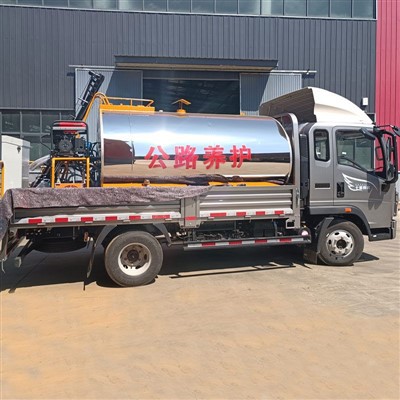
As a supplier of asphalt distributors, ensuring the high - performance of our products is of utmost importance. A well - performing asphalt distributor is crucial for various road construction and maintenance projects. In this blog, I will share how to test the performance of an asphalt distributor.
I. Pre - test Preparation
Before conducting any performance tests, it is essential to carry out thorough pre - test preparations.
-
Inspection of Physical Components
- First, visually inspect the entire asphalt distributor. Check the Asphalt Distributor Tank for any signs of damage, such as cracks or leaks. The tank is the core component that stores the asphalt, and any integrity issues can lead to serious problems during operation.
- Examine the pipes and hoses connected to the tank. Look for signs of wear, corrosion, or loose connections. Faulty pipes can cause asphalt leakage or uneven distribution.
- Inspect the spraying nozzles. Ensure they are clean and free from blockages. Clogged nozzles can result in an uneven asphalt spray pattern, affecting the quality of the road surface treatment.
-
Fluid Level and Quality Check

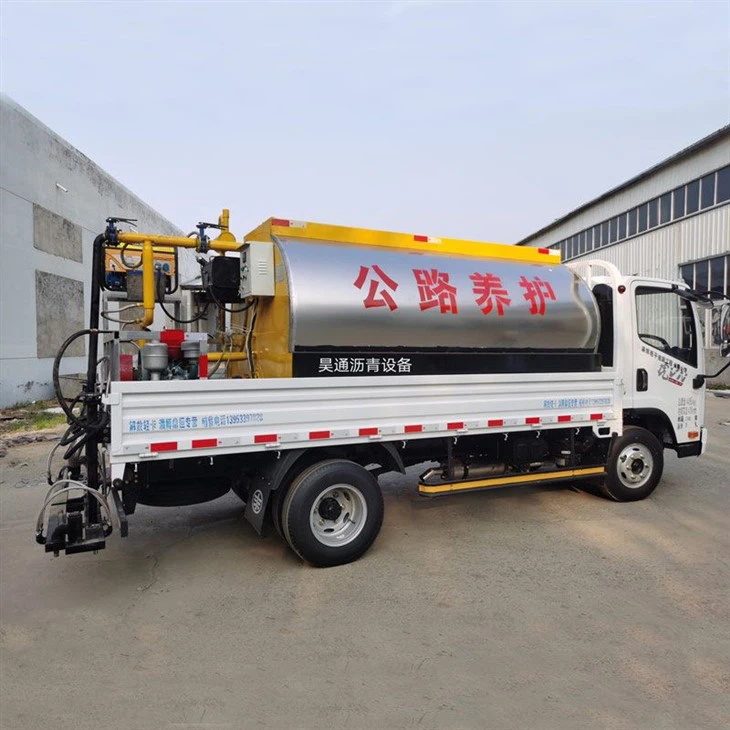
- Measure the level of asphalt in the tank. It should be within the recommended range for the test. Too little asphalt may not allow for a comprehensive test, while too much can put excessive stress on the system.
- Check the quality of the asphalt. The viscosity, temperature, and purity of the asphalt can significantly impact the performance of the distributor. Use appropriate testing equipment to measure these parameters. For example, a viscometer can be used to measure the viscosity of the asphalt, and a thermometer can be used to monitor its temperature.
-
Electrical and Control System Inspection
- Test the electrical components of the asphalt distributor. This includes checking the wiring for any signs of damage or short - circuits. The electrical system is responsible for controlling various functions of the distributor, such as the pump operation and the opening and closing of valves.
- Verify the functionality of the control panel. Ensure that all the buttons, switches, and displays are working correctly. The control panel allows the operator to adjust the spraying parameters, so its proper functioning is essential for accurate performance.
II. Performance Tests
1. Flow Rate Test
The flow rate of the asphalt distributor is a critical performance indicator. It determines how much asphalt is applied per unit area.
- Test Setup
- Connect a flow meter to the outlet of the asphalt spraying system. Make sure the flow meter is calibrated correctly.
- Set the distributor to a specific spraying mode and speed. This can be done through the control panel.
- Testing Process
- Start the asphalt distributor and allow it to run for a certain period, typically 5 - 10 minutes, to reach a stable operating condition.
- Record the flow rate readings from the flow meter at regular intervals, for example, every 30 seconds.
- Calculate the average flow rate over the testing period. Compare the measured flow rate with the manufacturer's specifications. If the measured flow rate deviates significantly from the specified value, it may indicate a problem with the pump, valves, or pipes.
2. Spray Pattern Test
The spray pattern affects the uniformity of the asphalt application on the road surface.
- Test Surface Preparation
- Select a flat and clean test surface, such as a concrete slab. Mark the surface into small grids to facilitate the measurement of the asphalt coverage.
- Testing Process
- Operate the asphalt distributor over the test surface at a constant speed and spraying pressure.
- After the spraying is completed, visually inspect the spray pattern. Look for any areas of over - spraying or under - spraying.
- Measure the thickness of the asphalt layer at multiple points within the grids using a thickness gauge. Calculate the standard deviation of the thickness measurements. A lower standard deviation indicates a more uniform spray pattern.
3. Pressure Test
The pressure within the asphalt spraying system is crucial for proper atomization and distribution of the asphalt.
- Test Setup
- Install pressure sensors at key points in the system, such as at the pump outlet and near the spraying nozzles.
- Make sure the pressure sensors are calibrated accurately.
- Testing Process
- Start the asphalt distributor and gradually increase the spraying pressure to the maximum recommended value.
- Monitor the pressure readings from the sensors at different pressure settings. Record the pressure values and check for any abnormal fluctuations.
- Compare the measured pressure values with the design specifications. If the pressure is too low, the asphalt may not be sprayed evenly; if it is too high, it can cause excessive wear on the components and may even lead to system failures.
4. Temperature Control Test
Maintaining the proper temperature of the asphalt is essential for its viscosity and workability.
- Test Setup
- Install temperature sensors inside the Asphalt Distributor Tank and at the spraying nozzles.
- Use a heating system, if available, to heat the asphalt to the desired temperature.
- Testing Process
- Set the target temperature for the asphalt in the tank.
- Monitor the temperature readings from the sensors as the asphalt is being heated and during the spraying process.
- Check the ability of the temperature control system to maintain the asphalt temperature within the specified range. Fluctuations in temperature can affect the flow rate and spray pattern of the asphalt.
III. Post - test Analysis
After completing all the performance tests, it is necessary to conduct a comprehensive post - test analysis.
- Data Analysis
- Review all the test data, including the flow rate, spray pattern, pressure, and temperature measurements.
- Calculate the statistical parameters, such as the mean, standard deviation, and variance, for each set of data.
- Compare the test results with the manufacturer's specifications and industry standards. Identify any areas where the performance of the asphalt distributor does not meet the requirements.
- Component Inspection
- After the tests, inspect the components of the asphalt distributor again. Look for any signs of wear, damage, or fatigue that may have occurred during the testing process.
- Check the nozzles for any blockages or signs of uneven wear. Replace any damaged or worn - out components as necessary.
- Report Generation
- Generate a detailed test report that includes the test procedures, results, and analysis. The report should also include recommendations for improvement, if any.
- Keep the test report on file for future reference and quality control purposes.
IV. Our Asphalt Distributors
At our company, we take pride in offering high - quality Intelligent Asphalt Distributor and Intelligent Asphalt Distributor Truck. Our products are designed with advanced technology and strict quality control measures to ensure excellent performance.
Before leaving the factory, each asphalt distributor undergoes a series of rigorous performance tests, including the tests mentioned above. We are committed to providing our customers with reliable and efficient asphalt distribution solutions.
If you are in the market for an asphalt distributor for your road construction or maintenance projects, we invite you to contact us for further information and to discuss your specific requirements. Our team of experts is ready to assist you in selecting the most suitable asphalt distributor for your needs and to provide you with the best possible service.
References
- "Road Construction and Maintenance Equipment Handbook"
- "Asphalt Paving Technology"
- Industry standards and guidelines related to asphalt distributors.